(Note: tried to link the URL to actual website but creative crash claimed it was a non existent webpage. Please copy and paste into web URL when viewing.)
http://www.creativecrash.com/maya/downloads/character-rigs/c/the-andy-rig

The usefulness of the rig
Below are a series of GIF images showing the process of doing things with the rig.
When loading the rig in Maya, the file will set its renderer to Legacy Default Viewport, making it look low res. Ideally we want to change that to a higher res model by going to Renderer>Viewport 2.0. This will allow us to then choose the right settings for seeing the model in Maya. You can see the difference in the GIF below.


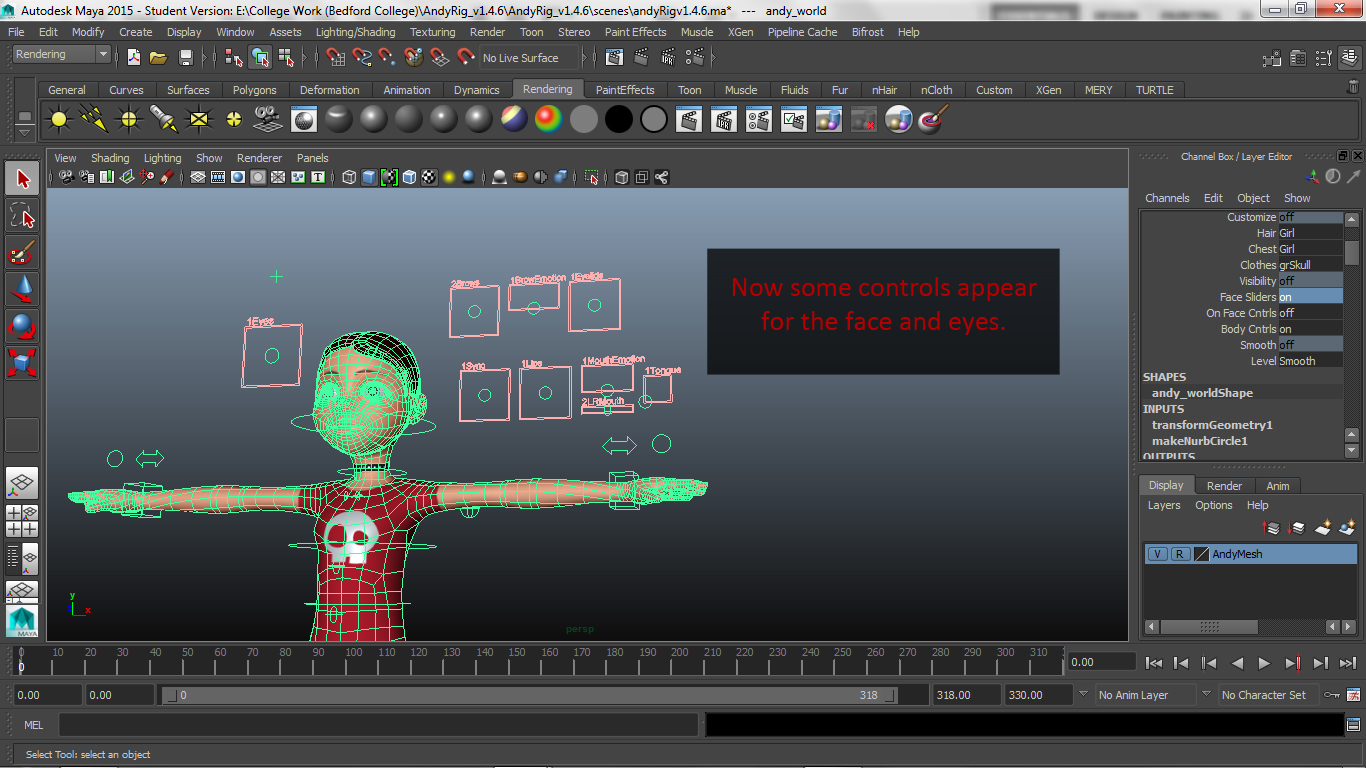
1. Select the Master Controller. This will bring up the list in which I can turn on the face sliders.

Changing IK to FK on arms and legs
Sometimes animating using IK can be good to do, but personally using FK too can help in areas. Below are two playblasts I made of the left arm using IK and FK. There is also another couple of playblasts showing IK and FK on the left leg too.

 To choose between IK and FK on the arm and leg, I had to locate the double arrow pointing both directions. This was the controller to change between IK and FK and it is shown on the left.
 Once selected, I had to go to the Channel editor and find the IK/FK editor. I had to type in either 0 or 1. 0 is for FK and 1 is for IK.
IK Arm
Using the IK chain on the arm made it easier to animate. Simply by selecting the hand controller (the green cube around the wrist) allowed me to either rotate or move the hand and arm to a position. I felt that this way it was easy to animate with, but less detailed than using an FK chain.
FK Arm
Using the FK chain was a little bit more complicated to do, but it had the detail supporting it. First I had to determine what I wanted the whole arm (shoulder, elbow and wrist) to do when the arm slumps down. I could only rotate the joints on the pivots only. This then allowed me to put in secondary motion and follow through when the arm goes down.
Concluding this bit, I found that using FK was a lot better than IK on the arm because the action I could put into the swing of the arm made it better with FK rather than IK.
IK Leg
I had also experimented with doing IK and FK legs. Using the IK allowed me to use move and rotate on the controller that shaped around the foot. If I wanted to, I could add in secondary motion with the channel box and manipulating the foot, toe and ball rolls when the foot lifted off the ground.
FK Leg
After this conclusion, I found that using IK was more suitable as I could control the pivots and rolls in between frames and keyframe them.
No comments:
Post a Comment